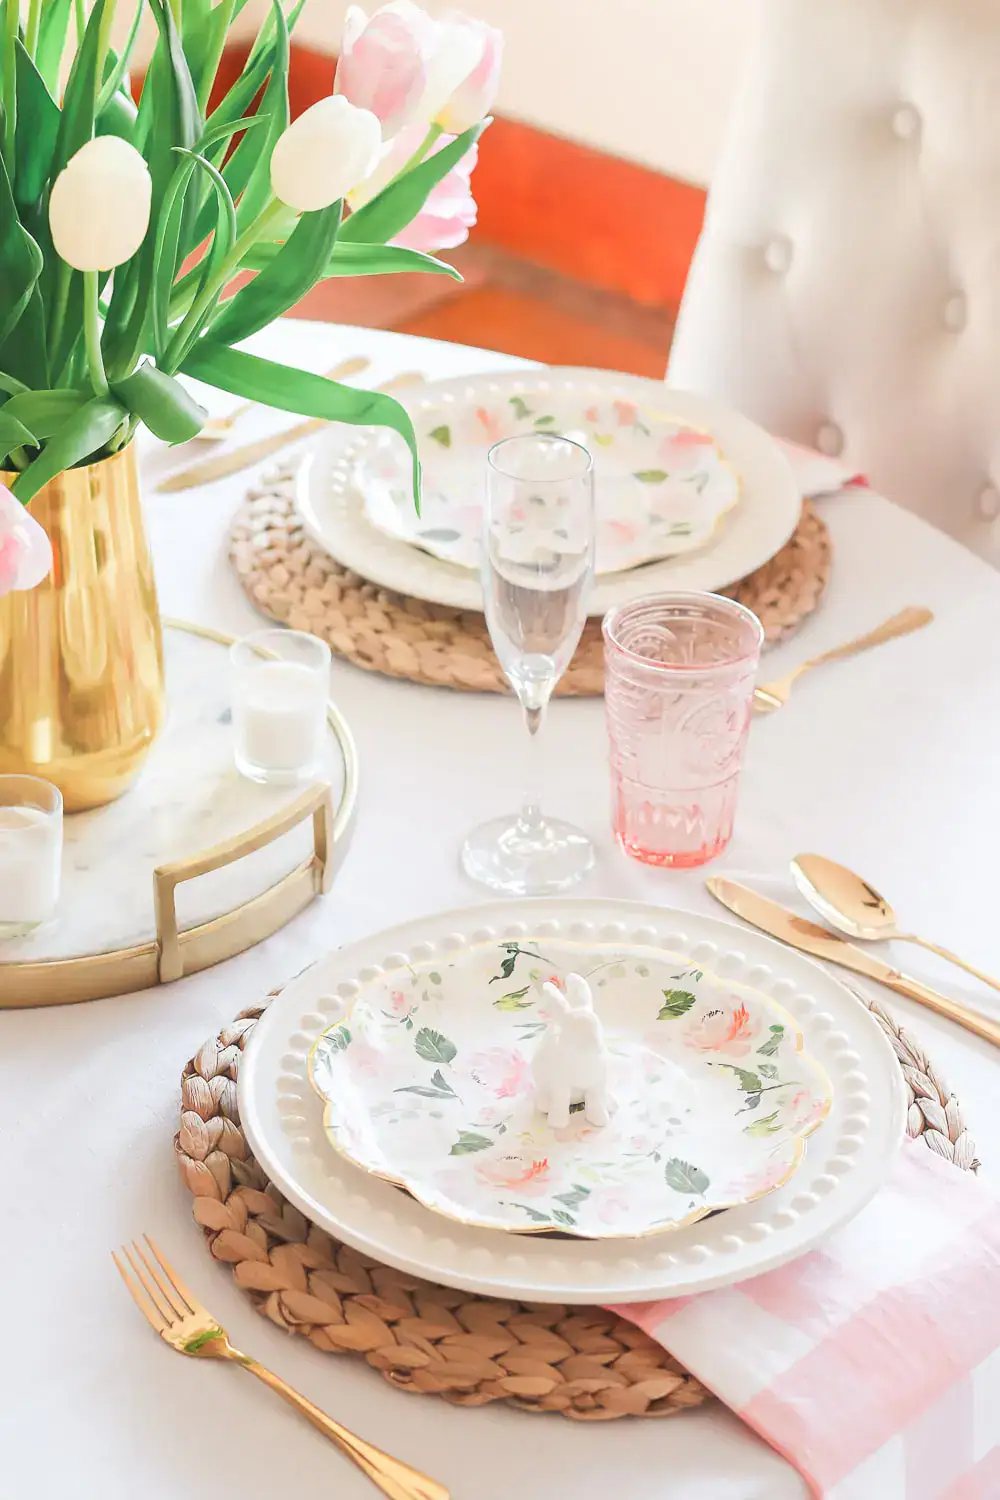
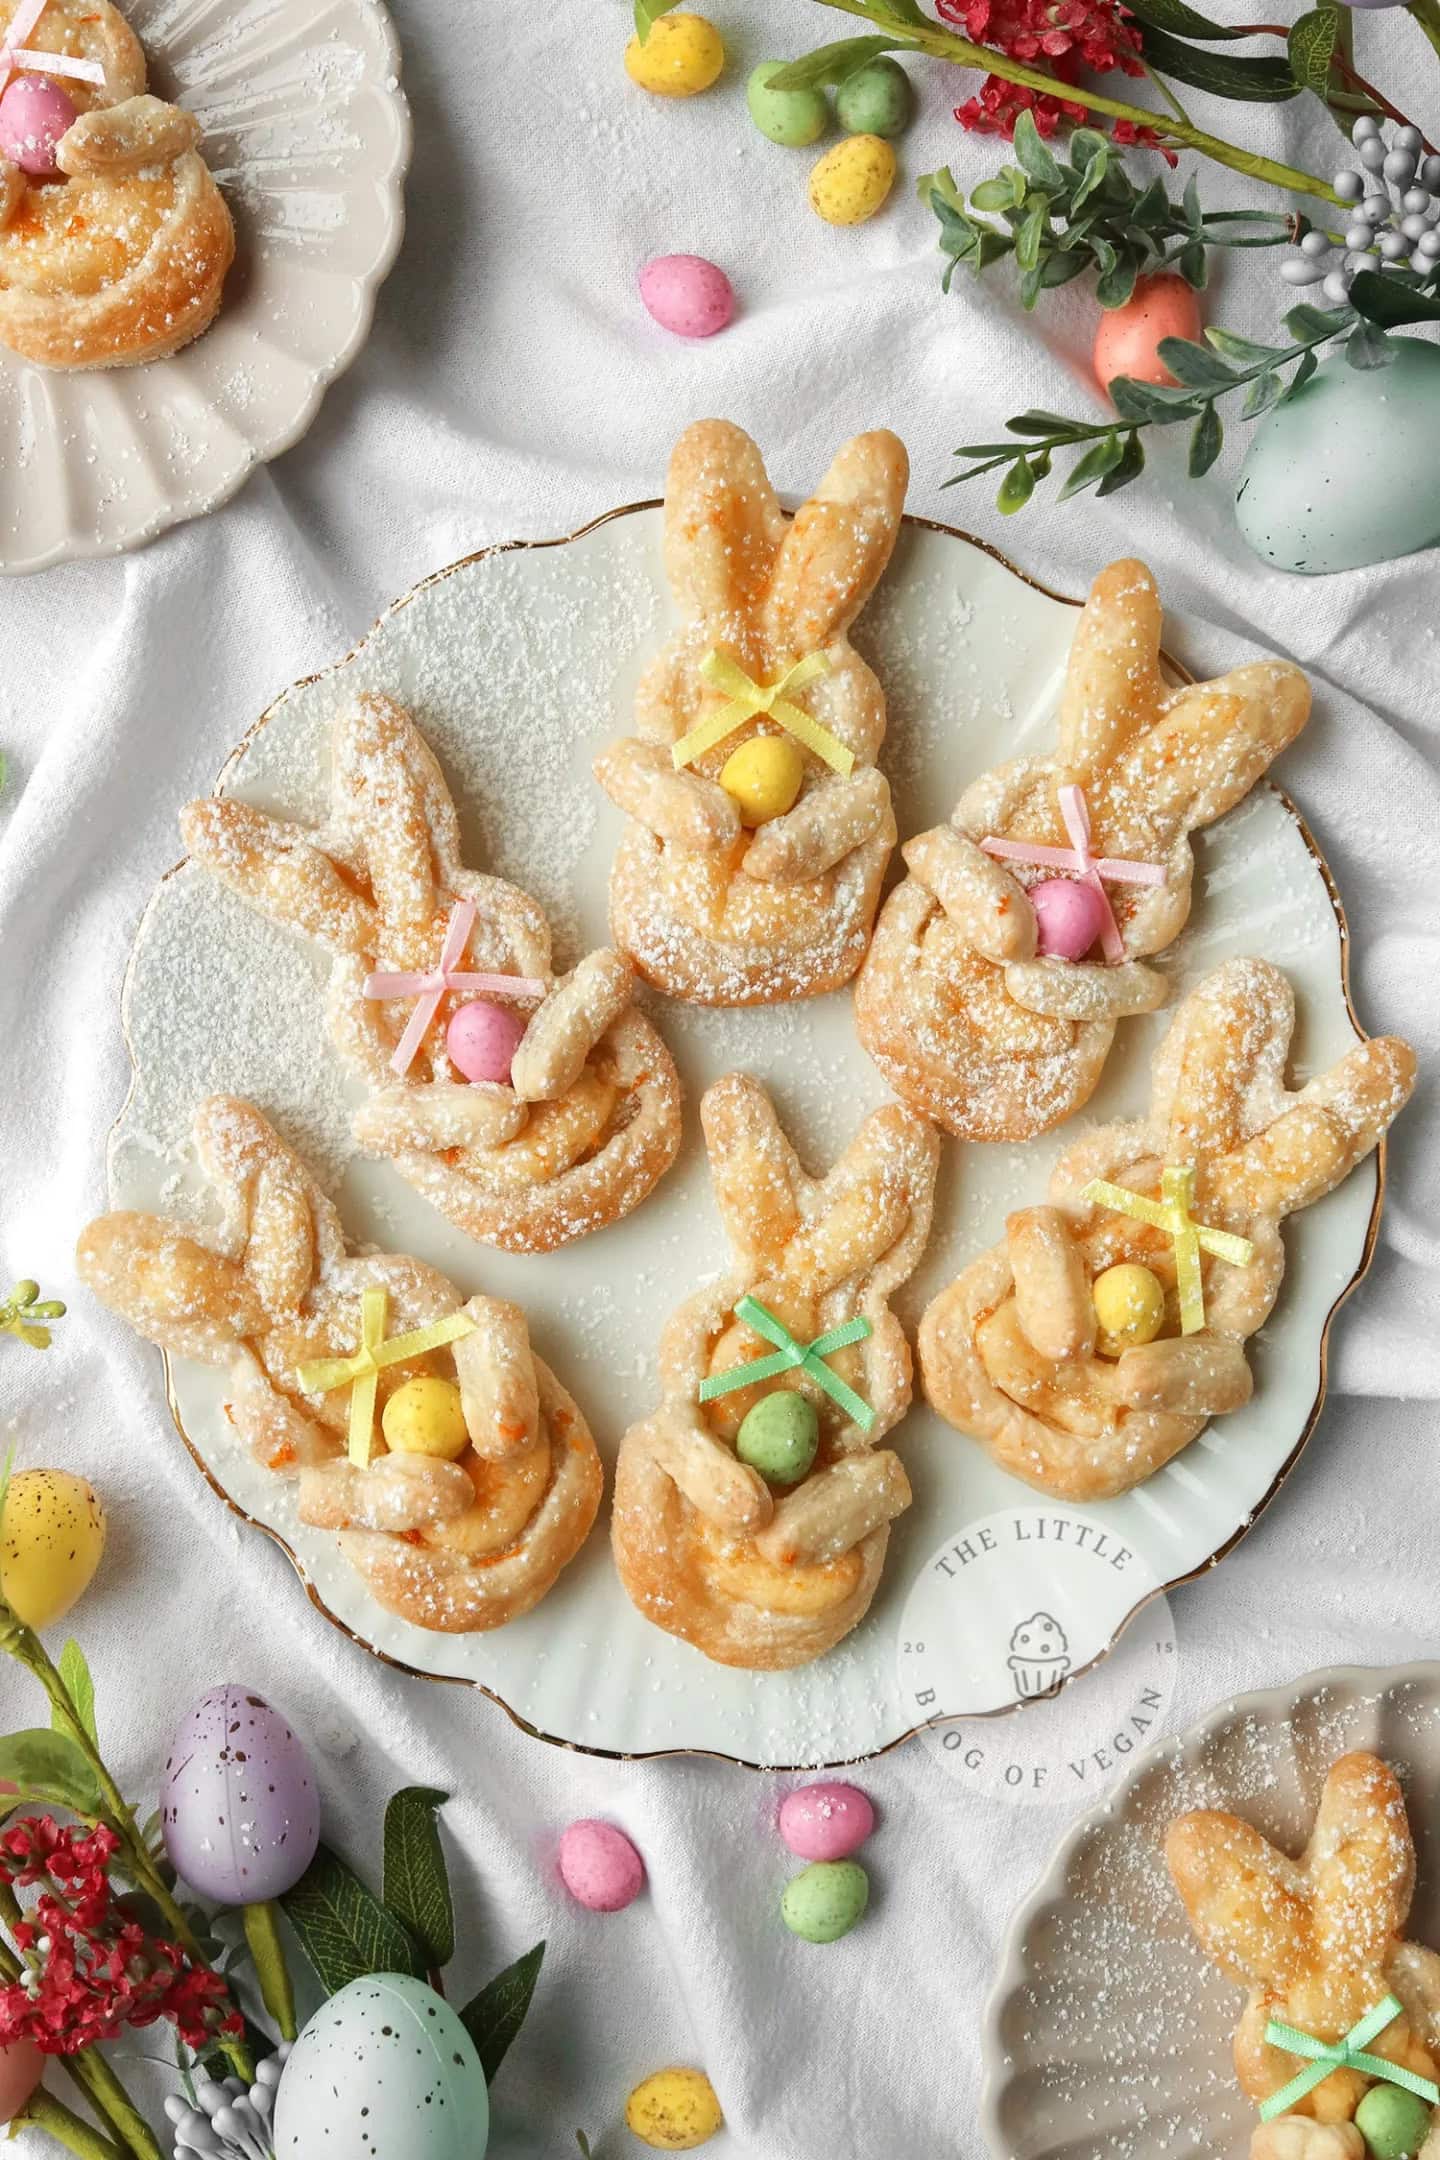
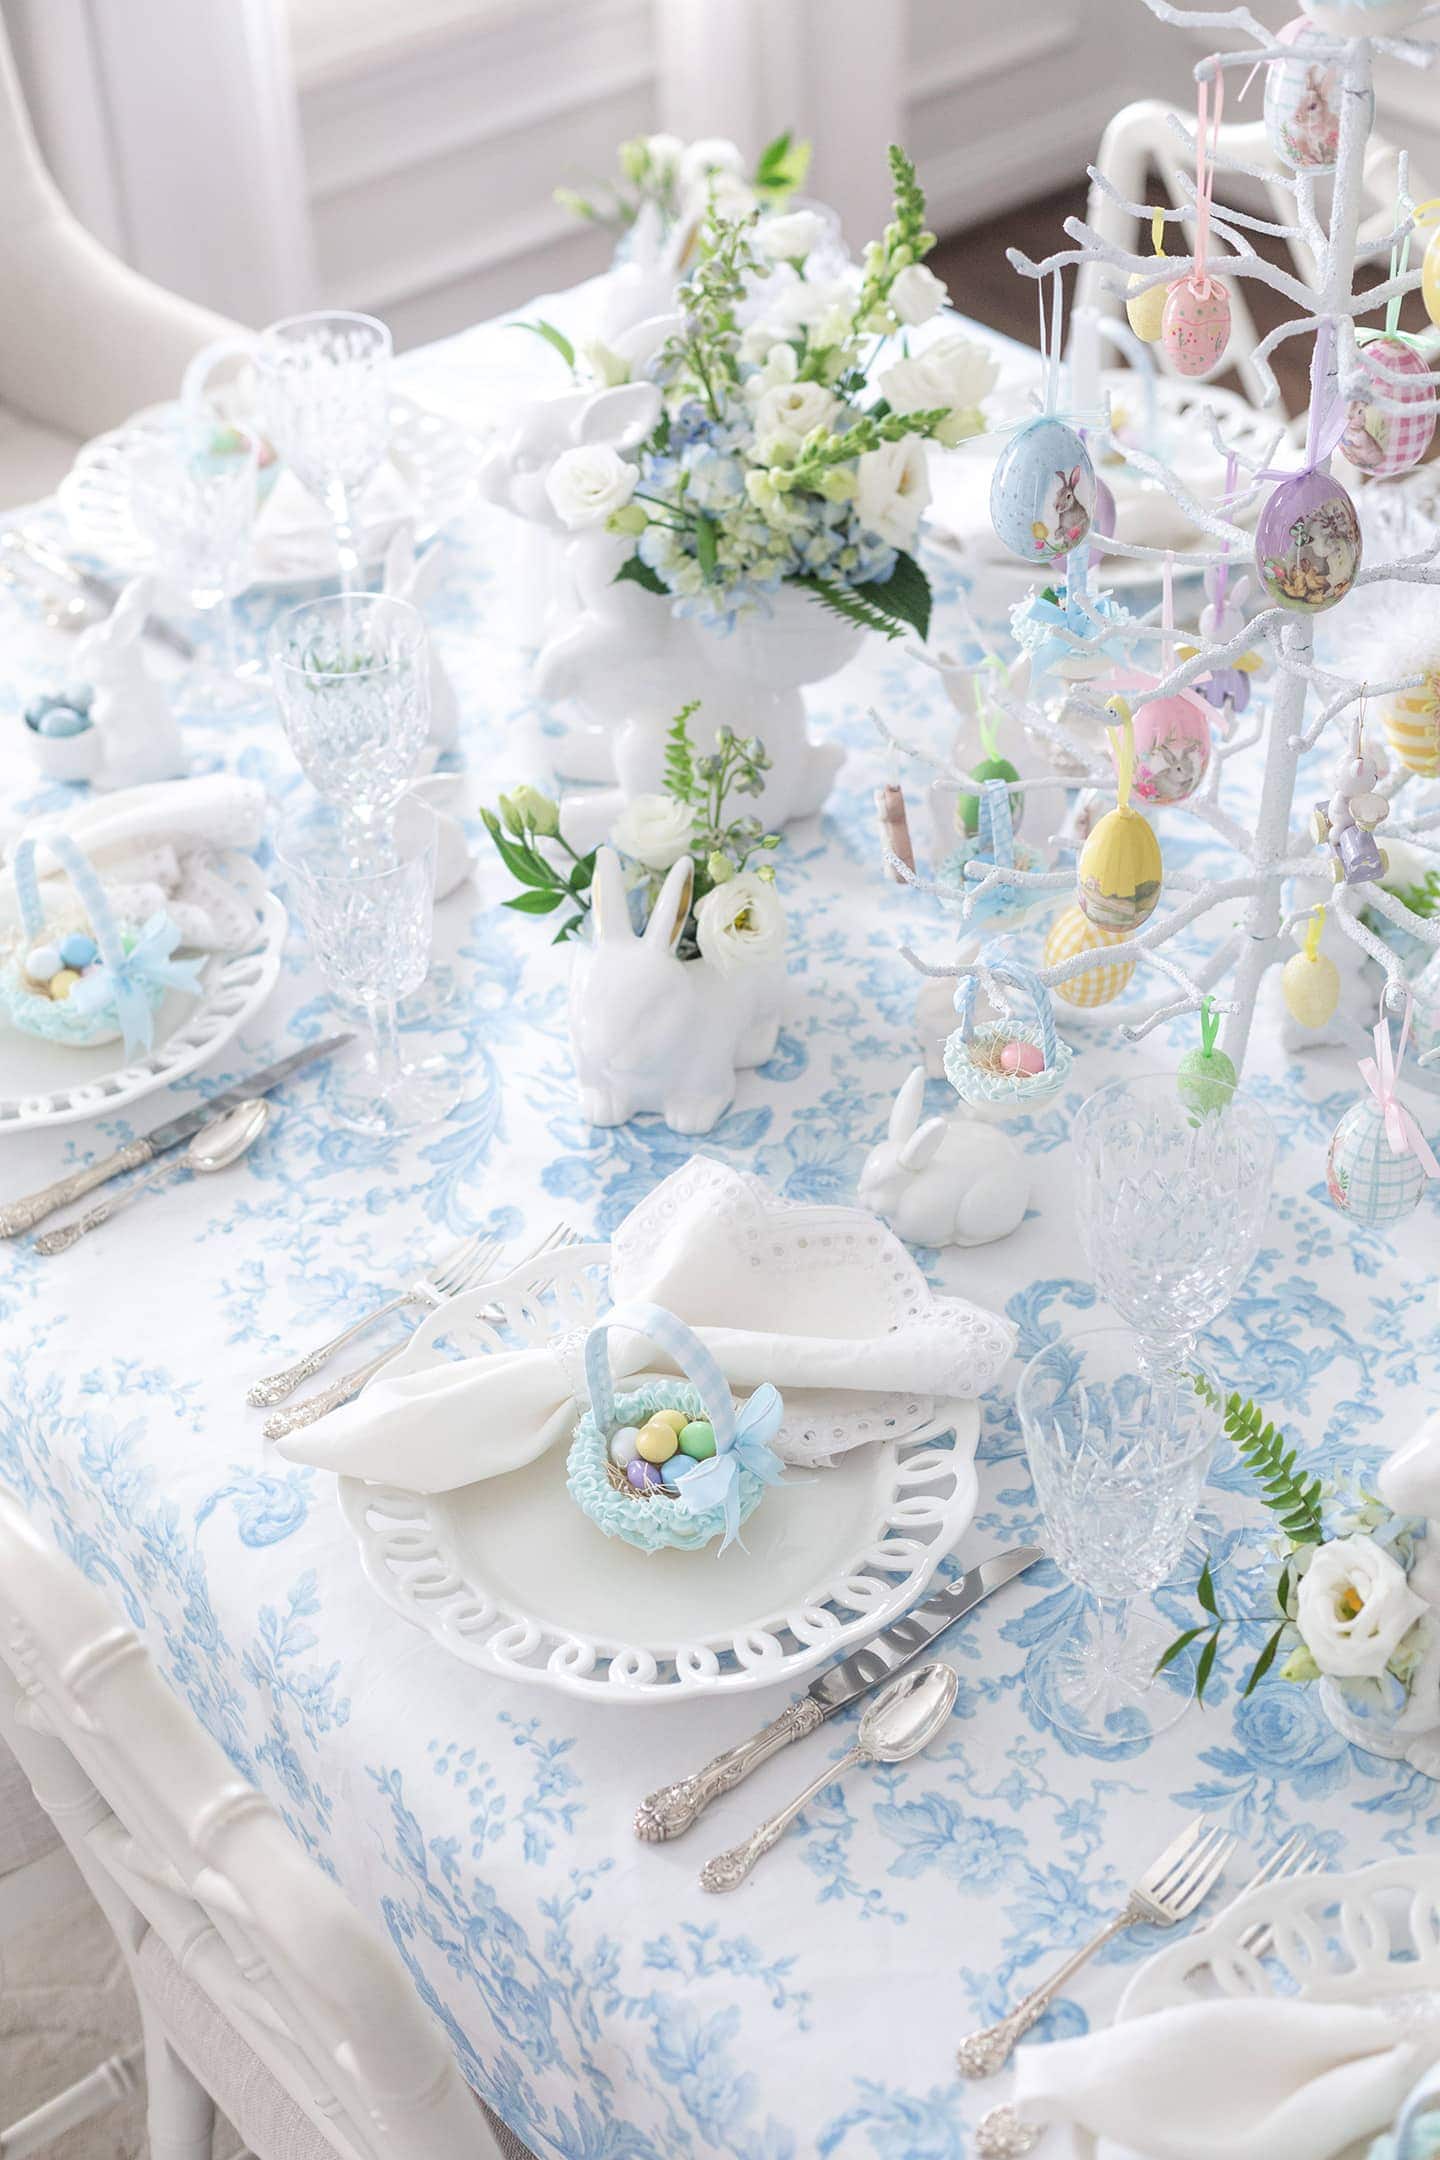
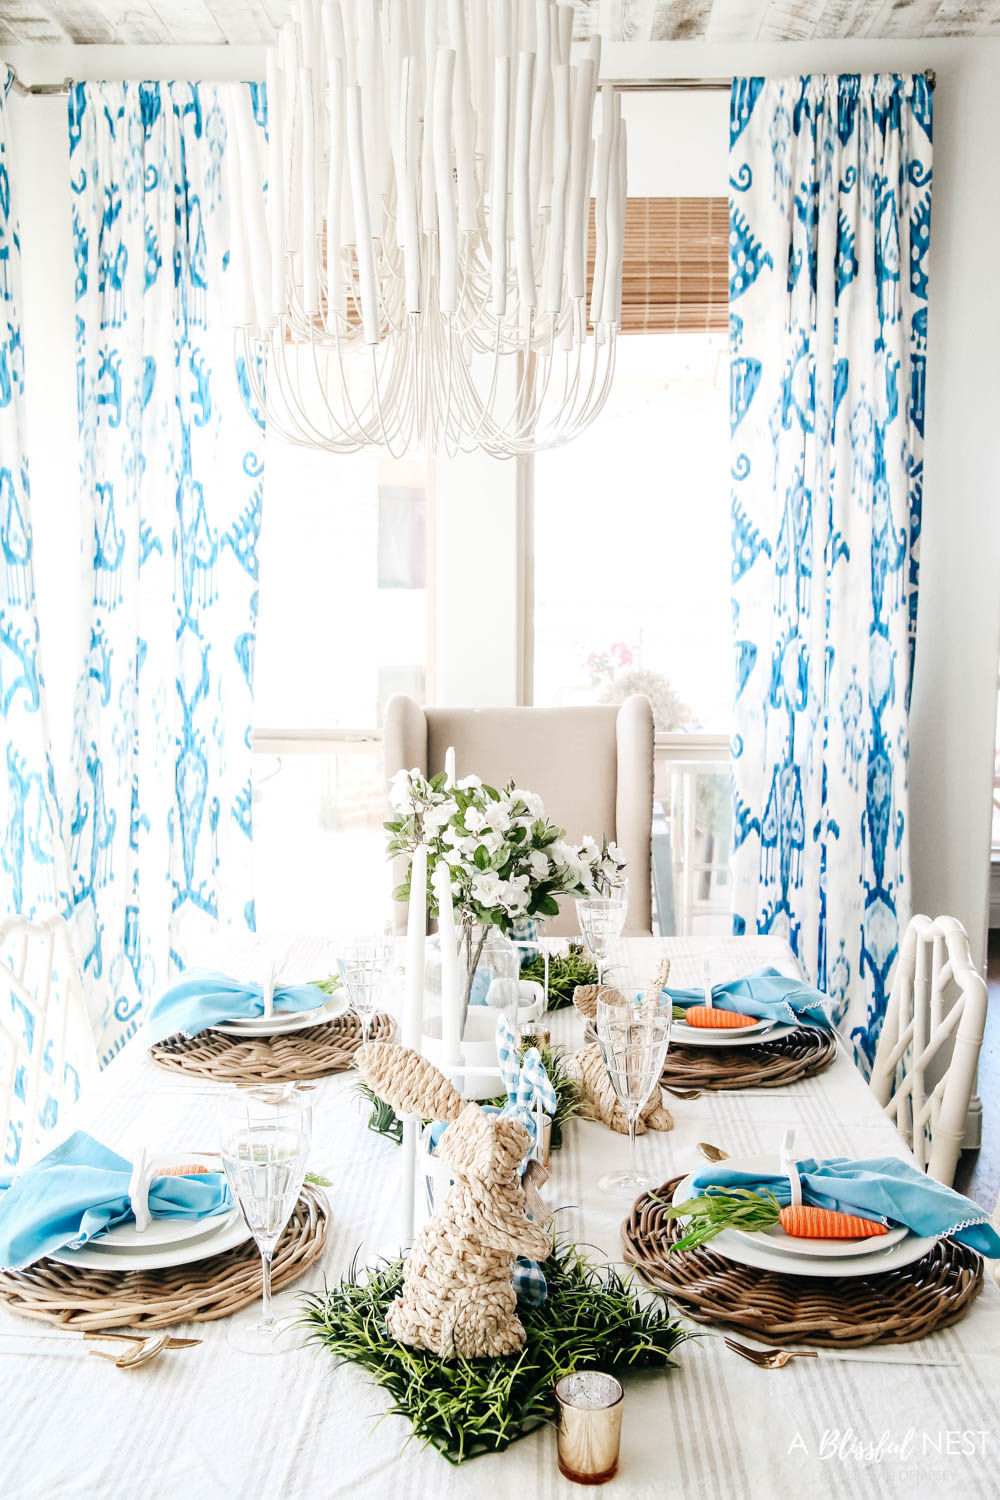
Spring Table Setting Ideas & Entertaining

Coming up with new table setting ideas is one of my favorite things to do. I love pulling out all the different dishes and mixing and matching vintage plates with my everyday serving pieces. With spring HERE (yippee!!) I wanted to share our Easter brunch tablescape since I think it has some great ideas for family entertaining for the spring season.

Spring Table Setting Ideas Entertaining- A Blissful Nest

This is such a simple table setting and really took minutes to put together. I layered this great table cloth with these chevron placemats from Target and layered my patterns. I love doing this. I think it is an unexpected way of adding texture.

Spring Entertaining Table Setting Ideas - A Blissful Nest

I pulled out our Emma plates from Pottery Barn and placed these brown transfer ware plates I got a long time ago at a antique store in LA. Linen napkins and our rattan napkin wraps adds a little luxe touch to a rather simple place setting.

Spring Tablescape Entertaining- A Blissful Nest I served this yummy easy breakfast bake and flaky rolls with some waffle skewers.

Spring Tablescape Entertaining- A Blissful Nest

How darling are those toothpicks? Those are from Target and are on long sticks perfect for cupcakes, hors d’oeuvres and snacks.

Spring Tablescape Entertaining- A Blissful Nest

Spring Entertaining Tablescape - A Blissful Nest

We used some cute striped straws for our orange juice glasses and I created a simple centerpiece in a white ruffle hobnail bowl with some died eggs.

Spring Table Setting Ideas Entertaining- A Blissful Nest

So with a few simple elements and layering your patterns you can create a festive table for a Sunday brunch with friends and family.

Rebekah

Last Minute Easter Ideas

Happy Good Friday everyone! Easter is this Sunday and if you are like me you are scrambling this year since it just creeped up so fast. So here are some fabulous Easter ideas I spotted on Pinterest to help you finish up your Easter decorating.

Easter Ideas - A Blissful Nest

{Better Homes and Gardens via Pinterest}

I am loving this simple Easter center piece for a table. Birds nests, branches and stack your cake plates is all you need for your pretty little decorated eggs.

Easter Ideas - A Blissful Nest


{She Knows via Pinterest}

I have been seeing gold Easter eggs EVERYWHERE this year and I am in love! These marbleized ones are perfection!

Easter Ideas - A Blissful Nest

{Eclectically Vintage via Pinterest}

Finding the perfect table runner can be hard sometimes. I love this hand stamped one with the little yarn bunny tales added.

Easter Ideas - A Blissful Nest

{Design Mom via Pinterest}

Don’t throw away those egg cartons. Paint them and use for gifting. Love this idea!

Easter Breakfast - A Blissful Nest

{Recipe via Betty Crocker}

I will be baking this on Sunday for my family. Looks yummy, huh?!

Easter Printable - A Blissful Nest

And don’t forget to download your free printable for our Easter Art Print HERE.

You can follow along with me and my last minute Easter preparations over on Instagram. I am addicted to Instagram! Any of you on it? Leave your Instagram name in the comments below so I can go follow you.

Happy Easter everyone!


Rebekah

Easter Decor & Free Printables!

This year I am loving bright and bold patterns and unusual color combos. Very different from last year’s Easter decorations in a more muted Easter pallet. Sadly I would have loved to develop this Easter collection a little further but our family has been sick. So our mantel is about as far as I am getting this year.

Easter Printable - A Blissful Nest

I chose a raspberry pink, melon pink, mustard yellow and mint color scheme in a wide stripe. With a little linen bunny and a reminder to tell your little bunnies to be good, makes a darling art print to adorn your mantel. I thought of the song “Johnny B. Goode” (remember from Back To The Future?) when I created this and thought it would be cute!

Easter Printable - A Blissful Nest

If you follow me on Instagram then you saw me painting this cute little eggs. They are made from styrofoam and purchased at Hobby Lobby for 40% off. Great time to stalk up on supplies for next year.

Easter Printable - A Blissful Nest

I added some left over trim and ribbons to our white bunnies to jazz them up and then hung our free printable color blocked egg banner.

Easter Printable - A Blissful Nest

Simple download, print and cut out. Then punch 2 holes at the top of your eggs and thread through bakers twine. These could even be cute hanging vertically on your front door.

Easter Printable - A Blissful Nest

So if Easter has crept up on you this year like it did to me then use our free printables below and add in a pop of spring color just in time!

Download our Free Printables for Easter:

Easter Frame Art Print

Yellow Egg Banner

Melon Pink Egg Banner

Orange Egg Banner

Raspberry Pink Egg Banner

Mint Egg Banner

Rebekah

{DIY Tutorial} Candlestick Jars

Hi everyone! I am Jen, from Sweeten Your Day Events! I can’t tell you how excited I am to be one of the new contributors here at A Blissful Nest! I have been brainstorming lots of fun things to share with you to help inspire your own exciting parties and events.  Today I am going to share with you this fun and easy tutorial to create your own candlestick apothecary jars that I made for my Easter Peeps Party found here.

Materials:

Candlesticks (various sizes) – Hobby Lobby or wood/craft store

Wooden knobs – Hobby Lobby or craft store

Glass containers – Hobby Lobby

Wooden plaques – Hobby Lobby

Gorilla glue – any craft store

Paint and brushes – craft stores

I was able to get most of the supplies on sale and the total cost was under $15!

Step One: Gorilla Glue your candlesticks to wood plaques, and wood knobs to lids.

I wanted to add a little more texture to the lids, so as I was browsing Hobby Lobby and found these little wood painted Earth’s and figured they would work since I was just going to paint over them.

Step Two: PAINT! Mine took a couple coats since it was a lighter color.

Step Three: When your paint is dry, pipe a ring of Gorilla glue around the top of your candlesticks and center base of jars onto them. Hold firmly into place for a few minutes while the glue sets.

Step Four: Once glue has fully dried, screw on lids to see the finished product :)

Don’t you just love them!

Step Five: Fill jars!

You can fill your jars with pretty much anything your heart desires! Fancy them up with bows too. They are great for entertaining or home decor! You can paint them any color to match your kitchen or home and leave them up all year. Fill them at each holiday with special treats : Valentines Day – conversation hearts, Halloween – candy corn, and so on. I hope you all enjoyed this tutorial and please feel free to comment or share!

Related Posts Plugin for WordPress, Blogger...
google5f90e6d69711bd89.html